
Green Gemstones: Emerald, Peridot, Jade, and Lookalikes
A practical visual guide to green gemstones with photo-friendly clues, comparison steps, common lookalikes, and safe next checks for further verification.
Quick answer for green gemstones
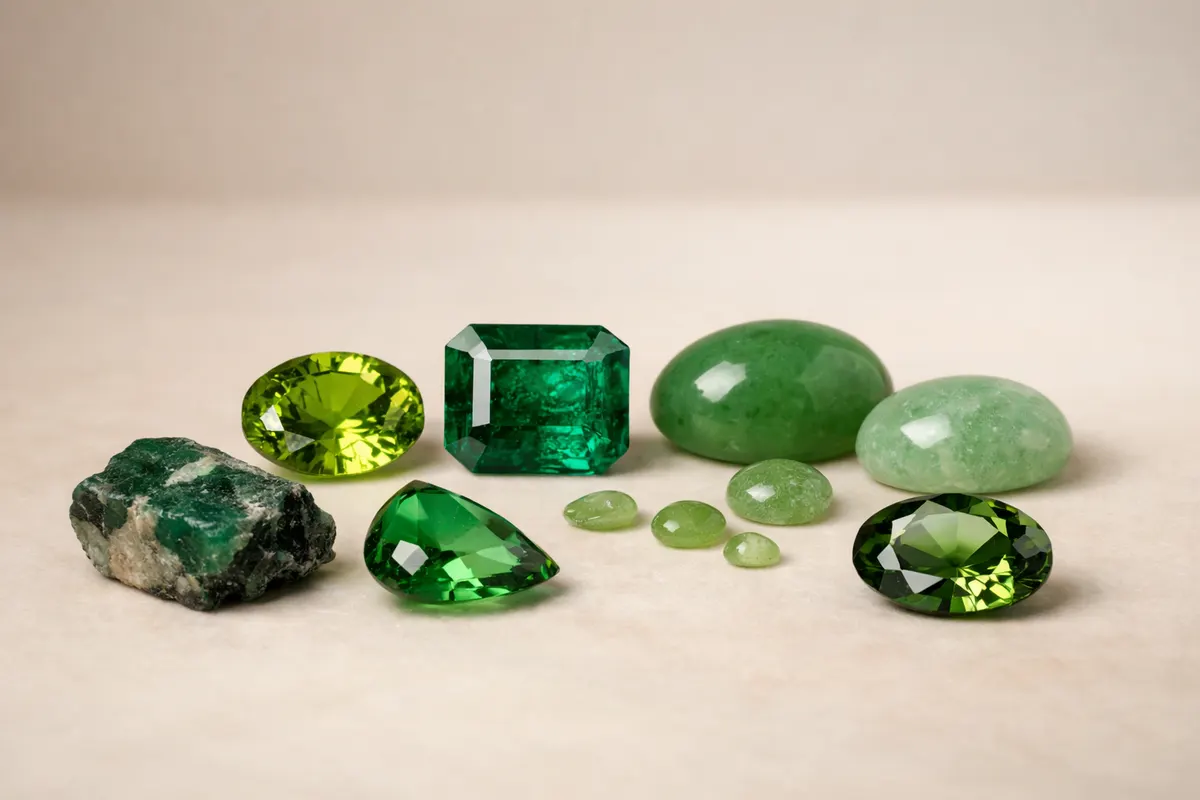
Green gemstones cover a wide visual range — from the lime-y glow of peridot to the rich bluish-green of emerald and the smooth, waxy tones of jade. When you only have a photo, the most useful things to note are the stone’s overall tone (how light or dark), its transparency or opacity, the surface texture, and any visible inclusions or patterns.
Color alone is a weak anchor: camera white balance, filters, and lighting change greens dramatically. Instead treat color as one clue among several. Look for consistent patterns that survive everyday phone photos: transparent sparkle vs a waxy, even surface; visible inclusions with characteristic patterns; and how light passes through the edges.
If you want a quick ranking from a photo, prioritize these stable observations rather than a single label: (1) transparency and internal texture, (2) surface luster and polish type, (3) inclusion patterns or 'gardens' that suggest emerald, and (4) the context — setting, provenance, and known age of the piece. Use the checklist below to compare multiple clues before drawing conclusions.
Strongest visual clues
Some clues remain useful even when photos aren’t perfect. These are the features most likely to survive changes in lighting and camera settings and that you can often spot with a phone macro or a carefully framed image.
When you study green gemstones in photos, focus first on how light interacts with the material: is light transmitted through the edges, or does it stop at the surface? Is the stone glassy and sparkly, or does it have a more waxy, tactile sheen? Those differences narrow possibilities quickly.
Next, examine inclusions and texture. Emeralds commonly show a garden-like network of inclusions visible as feathering or tiny fissures; peridots tend to be clearer or show distinct crystal fragments; jade (both jadeite and nephrite) often presents a smooth, fibrous or granular internal texture rather than isolated crystals.
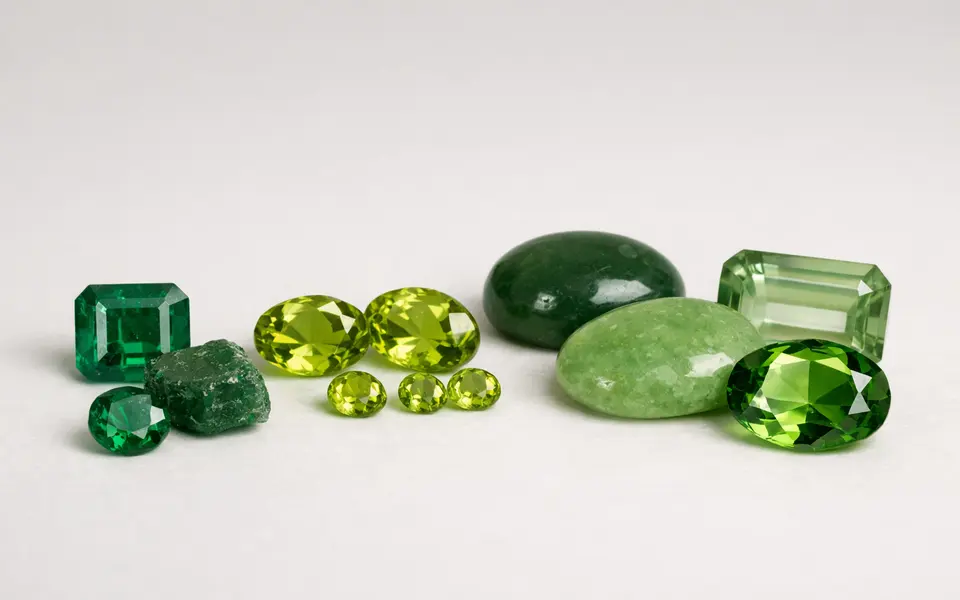
- Transparency and edge view — hold a photo that shows the gem’s girdle or edge: peridot and emerald are usually transparent; jade is often translucent to opaque.
- Surface luster — glassy/adamantine luster suggests transparent gems like peridot or emerald; greasy or waxy luster suggests jade.
- Inclusion patterns — a scattered ‘jardin’ or fissures point toward natural emerald; parallel, fibrous structure or a cloudy, fibrous look often indicates jade.
- Color tone and warmth — olive to lime green with a yellow tint often indicates peridot; bluish or deep forest green can suggest emerald; uniform, bottle-green may be jadeite or dyed stone.
- Cut and facet style — large, shallow facets and high brilliance are common in peridot cuts; emeralds may be cut in step-cuts (emerald cut) to protect cleavage and show depth of color.
Weak signals
Many things people rely on are unreliable in photos. The single biggest trap is trusting a single photo’s perceived color as the final answer: phone sensors, camera apps, and automatic post-processing can shift hues dramatically.
Other weak signals include glare and reflections from polish, one-angle highlights that hide internal structure, and snap judgments based on setting or metal color alone. Costume jewelry and glass can mimic many green tones, especially when photographed under direct flash or warm artificial light.
Watch out for treatments and imitations that intentionally improve appearance: dyed stones, glass doublets, and coated pieces can look convincing in photos but betray themselves under close inspection or varied lighting.
- Color in a single photo — can be shifted by white balance, filters, or display; compare with a neutral card.
- Flash highlights and glare — strong reflections can hide inclusions and make an opaque stone look transparent.
- Polish and surface coatings — a surface resin or wax can mimic a jade-like sheen.
- One-angle view — pleochroism (color change when rotated) and inclusions need multiple angles to observe reliably.
- Assumptions from setting — a fine setting doesn’t guarantee a precious stone; costume pieces may be set in plated metal.
Comparison workflow
Turn your observations into a short, repeatable workflow so that each candidate gem is judged by the same checklist. Consistency makes it easier to compare an unknown stone to known examples and to communicate findings if you consult experts later.
Start with context: record where the stone came from, any paperwork, and the jewelry setting. Then capture a standardized set of photos: a flat daylight shot with a white card, a macro close-up of the face to show inclusions, an edge/backlit shot to reveal transparency, and one rotated view to reveal any color shift.
Next, score the stone on five visible axes: tone (light–dark), hue (yellowish–bluish), saturation (muted–vivid), transparency (opaque–transparent), and inclusion type (none, crystal, feathering, fibrous). Use those scores to compare the unknown to known profiles for common green gemstones.
- Photo set: daylight white-card, macro for inclusions, edge/backlight, rotated view.
- Record context: weight or size if known, setting type, any documented provenance.
- Compare axis scores against example profiles (emerald: deep bluish green, included; peridot: lime/olive transparent; jade: even tone, waxy, often opaque/translucent).
- Make a ranked list with confidence levels: likely, possible, unlikely, and list missing evidence for a definitive ID.
- If several clues conflict or the confidence is low, treat the result as research notes rather than a final identification.
App workflow
After you’ve collected photos and initial notes, use Stone Identifier - Gemalyze as a structured second pass. The app works best when it receives the same controlled photo set described above and a short context note about origin, size, and setting.
In the app, attach the daylight white-card image as the primary reference, then add the macro and edge shots. Use the app’s fields to flag visible clues you observed — transparency, inclusions, luster — so automated suggestions can weigh those signals appropriately. Results should be treated as candidate matches, not lab-grade proof.
If the app suggests multiple possibilities, use the comparison workflow to prioritize which follow-up tests matter most. For example, if the app narrows a stone to emerald vs green glass, focused next steps are: view under magnification for seed bubbles (glass) and inspect for jardin-like inclusions (emerald), or arrange a professional gem lab check if provenance or value is important.
- Prepare: collect the recommended photos and context notes before scanning.
- Scan: submit the photos in the app and mark visible clues to improve relevance.
- Interpret: treat app matches as probabilistic suggestions and note any conflicting clues.
- Next steps: prioritize simple follow-ups first (different lighting, magnification) and reserve lab testing for high-value or high-uncertainty items.
- Learn more: a helpful deeper read on photo limits and safer next steps is Real vs Fake Gemstones: Photo Clues, Limits, and Safer Next Steps (https://stoneidentification. app/blog/real-vs-fake-gemstones).
Related guides
Try Stone Identifier - Gemalyze after your checklist
Use Stone Identifier - Gemalyze on iOS after you gather daylight, macro, edge/backlit, and rotated photos and note visible clues. The app turns your photo set and observations into prioritized candidate matches — treat results as research notes, not final proof. If results matter for value or authenticity, follow the app’s next-step suggestions and consider professional lab testing or an in-person appraisal.
Take the next step →Frequently asked questions
How can I tell emerald from peridot in a photo?
Compare tone and inclusions first. Emeralds often show a deeper, bluish-green and a network of internal fissures or garden-like inclusions. Peridot typically leans to yellow-green or olive, appears more gemmy and transparent, and usually lacks the garden-like inclusions. Use an edge/backlit photo to confirm transparency and a macro shot to inspect inclusion patterns; if the clues conflict or the photo quality is low, treat the result as tentative and seek further magnified views or lab testing.
Is jade always opaque and how do I recognize it in images?
Jade ranges from opaque to translucent. Look for a smooth, even color distribution and a waxy, soft sheen rather than the sharp glassy sparkle of transparent gems. Close-up photos may reveal a fibrous or granular internal texture rather than isolated crystals. Because treatments and dyed stones can mimic jade’s appearance, a consistent texture across multiple angles and a backlit translucency test help but do not replace a professional assessment when authenticity matters.
Can a single phone photo identify a green gemstone reliably?
No. A single phone photo is rarely sufficient for a reliable identification. It can provide hints — like whether a stone is clearly transparent or opaque, or whether large inclusions are present — but it cannot reveal subsurface structure, precise refractive behavior, or treatments. Use a standardized photo set plus contextual notes to improve confidence, and consider the app scan or lab services for higher-stakes identifications.
What should I do if the stone is set in jewelry and I can’t remove it for testing?
Photograph the stone in place using the recommended set: daylight white-card, macro face, edge/backlit, and rotated views. Note the setting style and any hallmarks as contextual clues. Many visual indicators survive when a stone is set — transparency, inclusion patterns, and luster — but removal may still be necessary for weight, refractive index, or cleaving checks. If the identification affects value or safety, plan for an in-person appraisal or lab report.