White Crystal Identification: How to Compare Cloudy, Clear, and Milky Stones
Identify white or cloudy crystals from visual properties with photo clues, comparison steps, limits, and safe next checks for white crystal names.
Quick answer for white crystal names
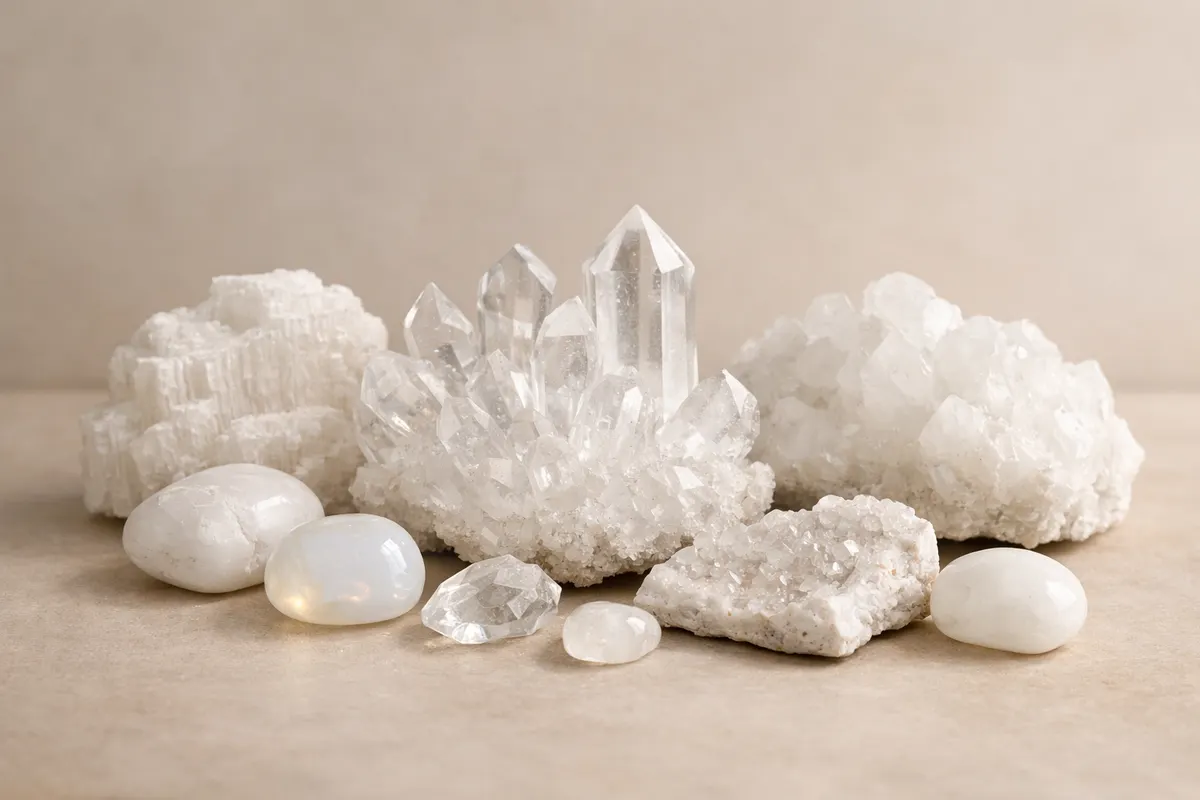
When you need quick orientation among white crystal names, start with three visible axes: transparency (clear → cloudy → opaque), surface luster (glassy, pearly, silky, waxy), and crystal habit/shape (prismatic, tabular, fibrous, massive). Those three clues together narrow the field far more reliably than whiteness alone.
Concrete examples: a glassy, transparent to translucent piece with conchoidal fracture and hexagonal-looking terminations is most likely quartz (rock crystal or milky quartz); a soft, fibrous, pearly specimen is often gypsum (selenite/satin-spar); a white, opaque stone with rhombohedral fragments that fizzes with dilute acid points to calcite. Each of those descriptions uses visible, camera-friendly traits rather than color words only.
Keep expectations realistic: a single phone photo can let you shortlist plausible white crystal names, but not prove identity. Use the visible checklist below, take several photos in neutral light with a scale, and treat app results or field tests as hypotheses to confirm with hardness, acid, or a lab if you need certainty.
Strongest visual clues
Below are visual clues that survive typical phone photos and small lighting differences. Use them in combination — each one rules groups of minerals in or out much more effectively than color alone.
1) Transparency / translucency: Record whether light passes through the piece. Clear to transparent (glass-like) suggests rock crystal (clear quartz); translucent milky material suggests milky quartz, chalcedony, or opal; very cloudy and chalky points toward calcite, aragonite, or some zeolites.
2) Luster: Observe how the surface reflects light. Vitreous (glassy) luster is typical of quartz and many chalcedonies. Pearly or silky luster appears on cleavage surfaces of gypsum and fibrous minerals. Waxy or dull surfaces can indicate chalcedony, magnesite, or weathered feldspar.
3) Crystal habit and form: Look for characteristic shapes. Hexagonal prisms with pointy terminations are quartz. Tabular, rhombohedral plates hint at calcite or some feldspars. Needle-like or radiating clusters point toward aragonite or some zeolites. Fibrous bundles are often gypsum (selenite/satin-spar). Even partial or broken habit hints are useful.
4) Cleavage and fracture visible at edges: A clean, flat break repeated in a particular direction is cleavage (calcite has 3 rhombohedral cleavage directions). Conchoidal, curved fractures that look like broken glass are typical of quartz and some chalcedony.
5) Surface texture and inclusions: Tiny visible inclusions, internal veils, or growth zoning often appear in quartz and opal. A sugary, granular texture suggests calcite or dolomite; a microcrystalline, smooth waxy texture indicates chalcedony or some opals.
6) Matrix and context: If the specimen sits on a visible host rock or matrix, that clue can be decisive. Milky quartz in a pegmatite matrix looks different from white calcite filling a limestone cavity.
7) Relative heft (visual hint of density): If you can include a photo of the specimen in your hand or next to a common object, you’ll often judge whether it’s unusually heavy (high specific gravity like calcite/opal) or light (porous or low-density chalcedony). This ‘visual heft’ is weaker than a measured SG test but still informative.
- Combine transparency + luster + habit first; they filter most lookalikes quickly.
- Cleavage (flat repeating planes) is a stronger ID clue than surface color.
- Matrix and context often resolve ambiguous white stones when habit alone doesn’t.
Weak signals
Some traits look convincing but are poor identifiers for white crystal names because they change with lighting, camera settings, or surface treatment. Treat these as low-weight signals unless supported by stronger clues.
1) Pure whiteness or off-white shade: White hue is the least reliable. Weathering, coatings, dust, or polishing can change a stone’s apparent whiteness. Two different minerals can look identically white when photographed in harsh sunlight or overexposed cameras.
2) Surface glare and specular highlights: Bright reflections from smooth polish or wetting make a specimen appear glassy even when it’s a different mineral. Don’t equate shine with hardness or composition without checking fracture/cleavage.
3) Single-angle photos: One view hides habit, cleavage, and important textures. A polished cabochon of opal or chalcedony looks very similar to other white cabochons in a single image; multiple angles are necessary.
4) Size without scale: Small stones photographed at macro can appear identical to larger specimens. Size matters for context (needle clusters that are millimeters across are different from large selenite blades a few centimeters wide).
5) Background color and white balance: Phone cameras change color temperature. A white stone photographed on a warm table under incandescent light may appear creamy or yellow, leading to false associations.
- Avoid making ID calls based only on 'white' or 'opaque' attributes.
- Don’t rely on shine or polish to infer mineral hardness or origin.
- Always include scale and at least three angles to reduce weak-signal errors.
Comparison workflow
Use this short workflow to compare likely white crystal names step-by-step. Work visually first, then add simple field checks only if you’re willing to accept minor damage or have spare fragments.
Step A — Photograph and catalog: Take at least three photos (top, side, and a close-up of a broken or edge surface) in neutral daylight or under a daylight-balanced lamp; include a ruler or coin for scale and a plain neutral background. Note weight, any visible matrix, and whether the surface is polished or natural.
Step B — Triage by the strongest clues: From the photos, decide on transparency + luster + habit. If glassy + conchoidal + prismatic → quartz candidates (clear quartz, milky quartz). If pearly/silky + fibrous blades → gypsum (selenite/satin-spar). If white + rhombohedral fragments + granular texture → calcite. If smooth, waxy, and microcrystalline → chalcedony/opal.
Step C — Apply safe, low-impact field checks: If you can sacrifice a tiny, hidden edge, try a hardness check against glass (hardness ~5.5): quartz will scratch glass easily (hard), gypsum will not (soft). A dilute drop of household vinegar or weak acetic acid can produce effervescence (fizz) on calcite — avoid using strong acids and protect skin; do this only if you accept possible surface etching.
Step D — Rank candidates and decide next steps: Create a shortlist of 2–4 white crystal names ranked by visual fit and field-check results. If you need confirmation for valuation or safety, pursue non-destructive lab tests (optical refractive index, specific gravity) or consult a local gem lab. If the match is only of casual interest, use the app for a photographic first-pass (see next section).
- Photo checklist: 3+ angles, scale, neutral light, close-up of edge.
- Triage strong clues first (transparency, luster, habit), then apply low-impact tests.
- Produce a ranked shortlist and treat app results as hypotheses, not final proof.
App workflow
Use Stone Identifier - Gemalyze as a photographic first pass after you’ve applied the visual checklist above. The app is useful for turning your photos into a ranked list of candidate white crystal names and for highlighting which visible clues drove those matches.
How to prepare photos for the app: Photograph the stone in neutral daylight or under a daylight-balanced lamp, include a ruler or coin for scale, and capture at least these views — full face (show overall shape), side (show thickness and habit), edge or broken surface (show cleavage/fracture), and a high-resolution close-up of texture or inclusions. Avoid heavy filters or cross-processed colors.
What to expect in results and how to use them: Gemalyze will return candidate white crystal names with match scores and short notes on which photo clues contributed (for example: “candidate: milky quartz — vitreous luster, conchoidal fracture, hexagonal habit”). Use those candidates to prioritize which low-impact field checks to run next (hardness, vinegar test for calcite), and to decide whether you need laboratory confirmation.
Interpret app output cautiously: Treat the app’s top matches as informed suggestions. If the app suggests multiple likely white crystal names (for example, milky quartz and chalcedony), return to the photo checklist and compare the specimens’ fracture pattern, microtexture, and any visible growth zoning. If a suggested match would change safety or value, plan confirmatory physical or lab testing.
- Prepare: neutral light, scale, 3+ angles, close-up of edge.
- Use app results to rank candidates and choose which small field tests to run.
- Do not treat app suggestions as definitive proof; confirm when needed.
Related guides
Try Stone Identifier - Gemalyze after taking neutral-light photos with scale
After you’ve photographed the stone in neutral daylight (3+ angles, close-up of an edge, and a visible scale), use the Stone Identifier - Gemalyze app on your phone as a photographic first pass. Gemalyze turns your photos into ranked candidate white crystal names and highlights which visible clues influenced each match. Use those suggestions to plan safe field checks or decide whether professional lab confirmation is needed—don’t treat app output as definitive proof.
Frequently asked questions
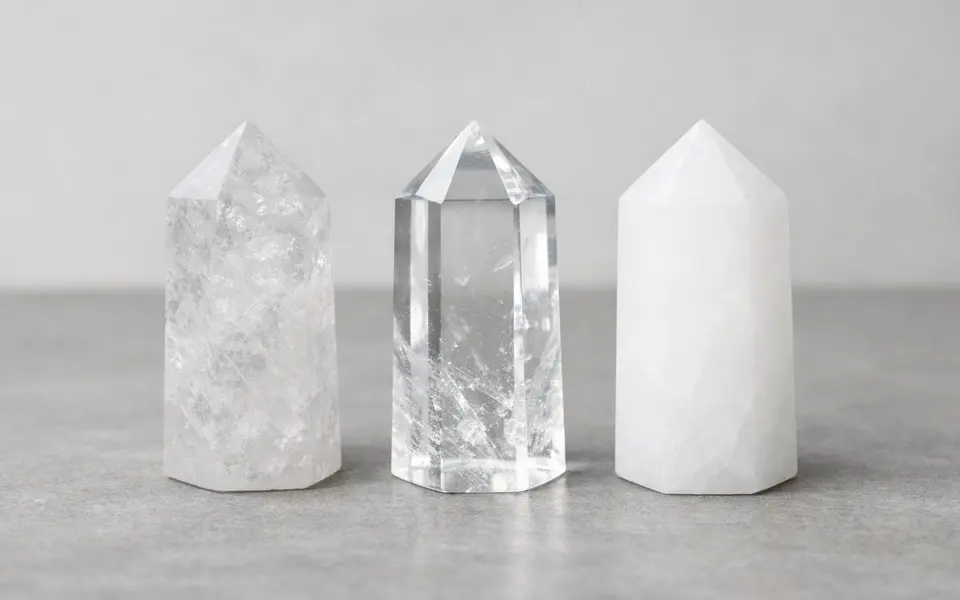
How can I tell milky quartz from clear (rock) crystal in photos?
Look first at transparency and internal texture. Clear quartz (rock crystal) transmits light cleanly and often shows sharp internal reflections or visible crystal terminations. Milky quartz appears uniformly translucent or cloudy, with a diffuse internal appearance and fewer sharp reflective planes. In photos, examine the edge or broken surface: conchoidal fracture and glassy sheen point to quartz in both cases, but a consistent cloudy interior favors the milky variety.
Could a white stone be man-made glass or a ceramic? How to tell?
Yes — glass, porcelain, and some stabilized resins can mimic white minerals. Glass tends to show very smooth, uniform surfaces and conchoidal fractures without natural growth zoning or inclusions. Look for bubbles trapped inside (common in glass) and perfectly rounded edges that indicate cutting or shaping. Ceramics or porcelain often show glaze lines, uniform thickness, and a fired base color in broken areas. Combining texture, inclusions, and habit clues from multiple photos helps separate natural minerals from man-made materials.
Is the vinegar (acid) test safe for identifying white crystals like calcite?
A dilute acetic acid solution (vinegar) can reveal calcite by producing small bubbles on fresh surfaces. It’s a useful low-tech check, but handle it with care: use a pipette, protect skin and eyes, and avoid applying acid to visible, display-quality specimens because it can etch surfaces. If you’re unsure or the specimen is valuable, skip the acid test and seek non-destructive lab confirmation.
What are the best photo angles and lighting to capture the clues you described?
Use neutral daylight (north-facing window) or a daylight-balanced lamp to avoid warm/cool color casts. Photograph three main views: (1) full face showing overall shape and terminations, (2) side/edge to reveal thickness and cleavage, and (3) a tight close-up of a broken or natural surface to show fracture, inclusions, or texture. Include a ruler or coin for scale and a plain neutral background. Avoid flash that causes harsh glare and multiple reflections.