
Is This Quartz? How to Tell Quartz from Lookalikes
Practical photo clues and step-by-step checks to answer “is this quartz” reliably. Learn what to photograph, key visual tests, and when to verify with pros.
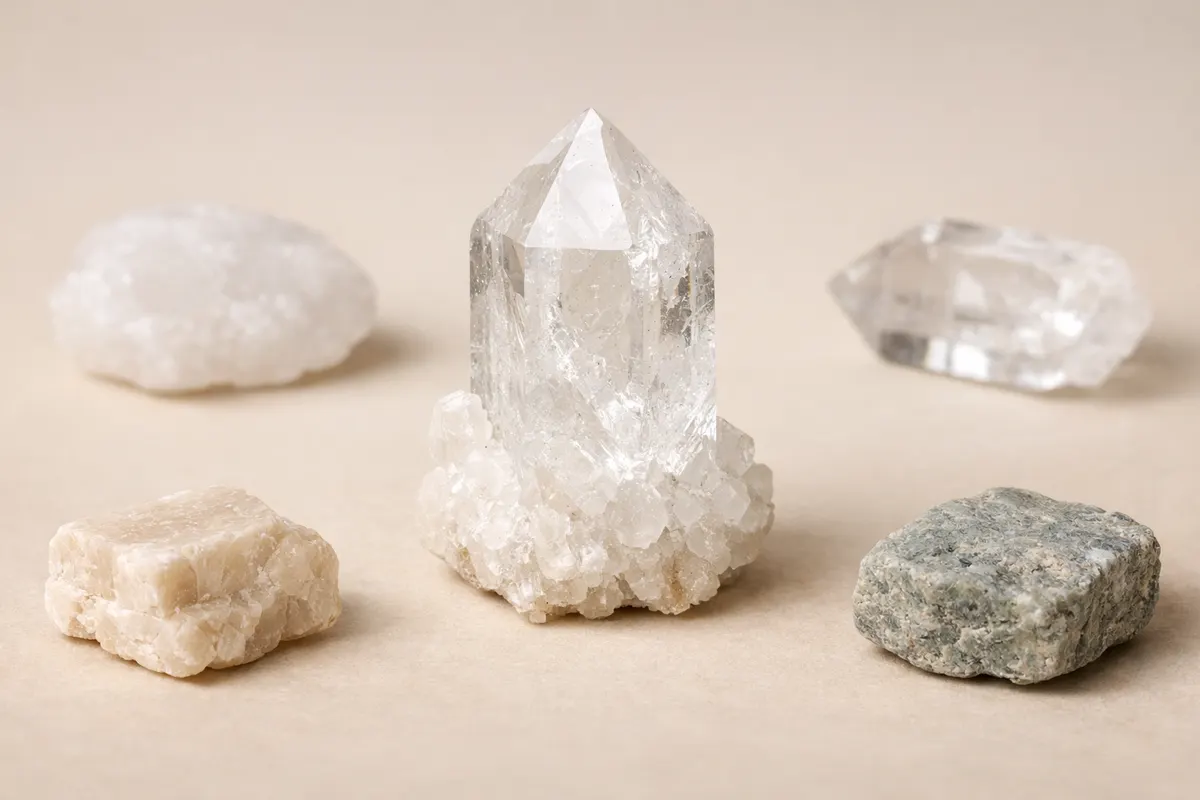
Quick answer: is this quartz from photos?
Short answer: you can often tell if a specimen is quartz from good photos and a few quick checks, but photos alone sometimes mislead. Quartz typically shows a glassy (vitreous) luster, clear to translucent sections, and conchoidal or irregular fracture rather than perfect cleavage. If you see crystalline faces (six-sided prism tips), that strongly supports quartz.
That said, lookalikes—glass, some feldspars, jasper, and dyed chalcedony—can mimic quartz in pictures. Lighting, background color, and white balance change perceived hue and clarity, so repeatable reference views (diffused daylight, neutral background, scale) greatly increase confidence. Use photos as a first pass and follow a short workflow below to raise certainty before seeking lab verification.
What “is this quartz” really asks
When someone asks “is this quartz,” they are usually asking whether a piece is a member of the quartz mineral family (silicon dioxide) rather than a lookalike material. Quartz covers a wide range: clear rock crystal, smoky quartz, amethyst (purple), rose quartz (pink), and microcrystalline variants like chalcedony and agate. These share common optical traits—vitreous luster, variable transparency, and a tendency for conchoidal fracture—but color and texture vary widely.
In practice the question may also mean: is this natural quartz versus man-made glass, a dyed or heat-treated stone, or another mineral like feldspar or calcite? Distinguishing natural quartz from those alternatives matters for value, use, and care. Because lighting and camera settings shift how color and transparency read in images, the problem is often one of consistent evidence: repeatable photos and a few simple physical checks separate likely quartz from likely non-quartz in most casual cases.
Key visual and physical clues for quartz
Start with surface clues visible in photos. Quartz usually has a glossy, glass-like shine (vitreous luster) on fresh surfaces and broken edges. Look for translucency—light passing through parts of the stone—especially along thin edges or tips. Clear or smoky sections often show internal fractures, veils, or needle-like inclusions (rutile) that are common in natural quartz but rare in ordinary glass.
Crystal habit and fracture matter: if you can see six-sided prism faces and pyramidal terminations on a natural crystal, that strongly points to quartz. Where crystals are absent (tumbled stones, cabochons), judge fracture and texture. Glass often heals micro-chips differently and can show small rounded gas bubbles; quartz doesn’t have true gas bubbles trapped in the same way because it formed differently.
Color and pattern clues help but can mislead. Rose or purple hues can be natural (rose quartz, amethyst) or the result of dye/heat treatment or glass coloring. Zoning—abrupt color bands or botryoidal layers—often suggests chalcedony/agate rather than macrocrystalline quartz. Finally, include context: where the specimen came from (beach, garden, rockhound site, e-commerce listing) changes the prior probability that it’s natural quartz.
- Vitreous (glassy) luster on fresh surfaces and broken edges
- Translucent to transparent sections; light passes through thin edges
- Conchoidal or irregular fracture rather than perfect cleavage
- Six-sided prism faces and pyramidal terminations on crystals
- Internal inclusions (rutile needles, veils) often indicate natural quartz
- Glass lookalikes may show rounded gas bubbles and overly uniform color
Step-by-step checks to decide “is this quartz”
Follow a repeatable photo-first workflow so you (or someone helping remotely) can evaluate the same evidence. First, photograph the specimen on a neutral, matte background (gray or white) with a ruler or coin for scale. Take one shot in diffused daylight (near a north-facing window) and one with the stone slightly backlit to reveal transparency. Keep white balance consistent—use the camera’s daylight preset or shoot RAW if possible.
Next, make two simple non-destructive checks you can do at home. Gently scratch the edge of glass with a steel file is not recommended; instead, use a known reference: a steel nail or a glass plate. Quartz rates about 7 on the Mohs scale and will generally scratch glass (which is softer). If you can’t safely perform abrasive tests, look for evidence in photos: sharpness of natural facets, conchoidal fracture, and inclusions are stronger non-destructive indicators.
If those tests leave doubt, take closer photos of edges and any internal features at higher magnification (10–20× macro) using a phone macro lens or a loupe. Also photograph any polished faces or jewelry settings to check for common treatments (glue lines, reconstituted material). Keep notes on provenance and handling: how the stone was collected or sold adds important context for later verification.
- Photo setup: neutral matte background, scale (coin/ruler), diffused daylight, and one backlit shot
- Non-destructive check: visual signs of conchoidal fracture and internal inclusions
- Scratch/glass test: quartz will typically scratch common glass (apply only when safe)
- Macro inspection: loupe or phone macro to check for bubbles, flow lines (glass), or natural inclusions
- Record context: where it came from, how it was sold, and any treatments described
Practical examples: what photos revealing quartz look like
Example 1 — Tumbled beach pebble: a translucent, rounded pebble photographed on a white background in daylight. Photos show a soft glassy shine but also a few internal white veils and tiny needle inclusions in macro shots. These inclusions and lack of flow lines favor natural microcrystalline quartz over hand-blown glass. The provenance (beach find) also increases the chance it’s natural quartz worn smooth.
Example 2 — Pink cabochon from a craft fair: the cabochon has uniform color and no visible inclusions under macro. Side photos reveal a consistent saturation that continues to the edge—this pattern is common in dyed chalcedony or glass. Paired with the absence of natural zoning or inclusions, the safest reading from photos is “possibly treated or glass,” and a simple non-destructive test or seller disclosure is advisable.
Example 3 — Broken crystal tip: a clear crystal with a six-sided prism and a pyramidal termination, photographed with backlighting that reveals internal veils and a small natural chip showing conchoidal fracture. This is classic quartz crystal imagery; photos alone are strong evidence here, though a lab check can still confirm natural versus heated or irradiated treatments for color-sensitive varieties like amethyst.
- Tumbled translucent pebble + internal inclusions → likely natural quartz
- Uniform dyed color with no inclusions → suspect glass or dyed chalcedony
- Six-sided prism faces + pyramidal termination → strong quartz indicator
Limits: when photos aren’t enough for “is this quartz”
Photos can be highly diagnostic but also deceptive. Glass and some man-made materials mimic quartz’s luster and transparency; tiny gas bubbles and flow lines differentiate glass from quartz, but those features can be hard to spot without proper macro shots. Dyeing, heat treatment, and radiation can change color in natural quartz, making color-based ID unreliable unless internal structure and inclusions are visible.
Certain minerals—feldspars, calcite, and chalcedony variants—require tests beyond photos for reliable separation. Hardness testing, specific gravity measurement, refractive index readings, and polarized-light microscopy are standard lab approaches. When the value, safety, or provenance of the specimen matters (e.g., for sale, jewelry, or scientific collection), stop at photographic assessment and seek verification from a reputable gemological lab or experienced local mineralogist.
Declare confidence levels: high confidence (clear crystal faces, internal inclusions, conchoidal fracture visible), medium confidence (consistent vitreous luster and translucency but missing diagnostic inclusions), low confidence (photos show color only, no structural detail). Where doubt remains, prioritize non-destructive professional testing rather than assumptions.
- High-confidence ID needs crystal habit, fracture, or diagnostic inclusions visible
- Medium-confidence ID relies on luster and translucency but may be fooled by glass
- Low-confidence situations require lab tests: refractive index, specific gravity, spectroscopy
- Seek professional verification when value, provenance, or safety depends on correct ID
Related guides
A fast next step after your photo checks
If you’ve followed the photo and non-destructive checks above and want a quick second opinion, consider using the Stone Identifier - Gemalyze tool as a practical next step. It’s designed to help you organize repeatable photos and compare visual clues quickly—use it after you shoot neutral-background, backlit, and macro images. Remember: automated tools can speed evidence gathering but don’t replace lab verification for high-value or contentious specimens. Learn more and try the tool at https://stoneidentification.app/tools/stone-identifier.
Take the next step →Frequently asked questions
Can a photo alone definitively prove a stone is quartz?
A photo can often provide strong evidence—especially if it shows crystal faces, conchoidal fracture, and natural inclusions—but it rarely proves quartz with absolute certainty. Photographs are best used to assign a confidence level: high when multiple diagnostic features are visible, medium when only luster or translucency appears, and low when the image shows only color. For sale, appraisal, or scientific use, confirm with non-destructive lab tests (refractive index, specific gravity) or a qualified mineralogist.
How can I tell quartz from glass in photos?
Look for features glass rarely shows: natural inclusions (rutile needles, veils), crystalline faces, and conchoidal fracture patterns. Glass frequently contains rounded gas bubbles, flow lines, or overly uniform coloration; these signs are easier to spot under macro magnification. Backlit photos that show how light passes through thin edges and macro photos of broken edges are particularly helpful in distinguishing quartz from glass.
Is rose quartz always natural pink quartz?
Not always. Natural rose quartz exists and gets its color from microscopic mineral inclusions or structural trace elements, but pink stones can also be dyed quartz, glass, or other materials. In photos, natural rose quartz may show diffuse color, internal fibers or veils, and a slightly milky translucency; perfectly uniform bright pink without internal structure suggests treatment or non-quartz material. When color origin matters, request provenance, treatment disclosure, or lab verification.
What is the safest next step if photos leave me unsure?
First, collect repeatable, high-quality photos: neutral background, scale, diffused daylight, and a backlit transparency shot. If uncertainty remains, perform safe non-destructive checks (compare scratching on glass with caution or inspect with a loupe). For definitive answers—especially when selling, buying, or insuring—send the specimen or high-quality images and provenance to a reputable gemological lab or consult an experienced local mineralogist. Use photographic ID tools as a fast first pass, not a final authority.