Stone Identification
Gemstone Identification: A Visual Guide With Example Cases
Learn which details a photo can show for reliable gemstone identification, what it cannot prove, and the quick checks to narrow options before testing.
A clear result from a phone photo usually tells you the likely gemstone family, visible treatments, and which features need lab tests. Use the visual clues here to narrow possibilities before asking an app or a lab for a closer look.
Photo-first identification focuses on what you can see: color range, transparency, surface wear, and internal patterns. Those signals let you separate common classes (e.g., corundum, quartz, opal) and decide whether an in-person test is warranted.
Stone Identifier - Gemalyze is designed as a first pass: you review the visible evidence, then the app converts those clues into a short list and recommended next checks. A photo helps prioritize actions, but it cannot substitute for gemological measurement when value or authenticity matters.

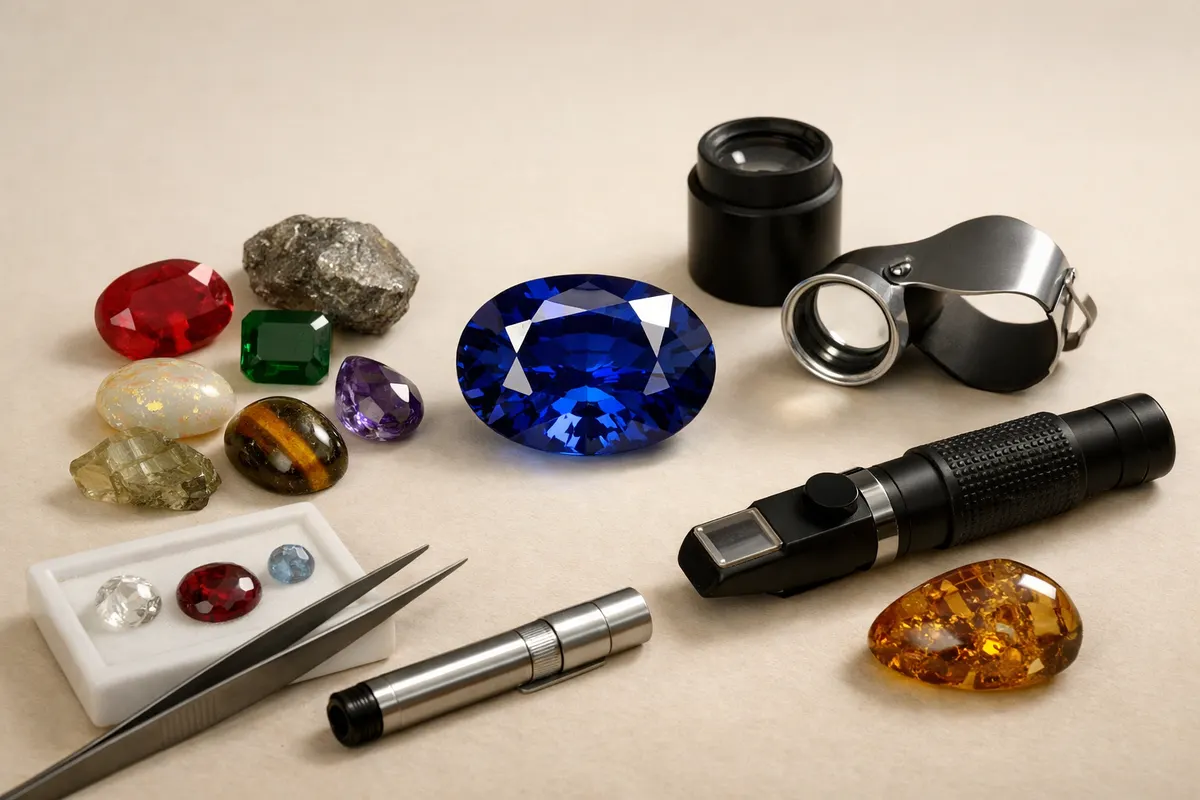
How identification works
Step 1
Snap a photo
Take a clear, well-lit photo of your item in the Stone Identifier - Gemalyze app.
Step 2
Get an instant identification
The app reads the visible clues and returns the closest matches in seconds.
Step 3
Review the details
Check the attributes, rarity, and estimated value range before deciding your next step.
How to read visual clues on gemstones
Start with color and saturation: consistent, saturated color often points to natural gem species (for example, deep, evenly saturated red suggests corundum rubies or spinel), while sudden color patches or a uniform dyed tone can indicate treatment or simulant.
Examine transparency and light behavior. Is the stone transparent, translucent, or opaque? Transparent stones that show internal inclusions are often natural; an entirely featureless, glassy look may mean glass or a synthetic. Note how light passes through the stone and whether there’s internal color zoning.
Look for surface clues: tooling marks inside settings, wear on facet edges, chips, and abrasion can indicate age and whether the stone was recut or repolished. Inclusions and growth patterns—needle-like rutile, fingerprint inclusions, or layered color bands—are strong visual identifiers when visible in photos.
- Color zones and flashes: photograph the stone at several angles under daylight and a neutral LED to capture color zoning and any play-of-color.
- Luster and reflection: describe whether the surface is glass-like, waxy, or metallic; luster narrows down mineral groups quickly.
- Inclusions to note: crystals, needles, and fingerprint-like inclusions are photographic clues to natural stones versus glass or resin.
- Cut and facet pattern: certain stones are commonly cut in styles that expose typical inclusions—save a macro photo of the pavilion and crown.
- sapphire beyond blue the rainbow of corundum colors
- opal understanding play of color
What a gemstone identification result includes
A category identification result focuses on visible, photo-verifiable information and clear next steps. It’s not an appraisal or a lab certificate, but it helps you prioritize testing and care.
Typical fields returned after a photo review include the most likely stone family, visible treatments or enhancements, confidence level from image clues, and suggested confirmatory tests a gem lab or jeweler would run.
The result also flags care and handling notes visible from the photo—soft stones, porous surfaces, or unstable treatments—and points to example matches so you can compare similar images before deciding on lab work.
- Probable stone family (e.g., corundum, spinel, quartz) with short visual justification
- Visible treatments and signals (e.g., dye, fracture filling, surface coating)
- Image-based confidence score and the specific clues that drove it
- Suggested next checks: hardness check, refractive index or specific gravity, and when to request a lab report
- Care notes based on visible condition (cleaning risks, likely fragility)
- Example comparison links for similar photos — see Red Gemstones: Ruby, Garnet, Spinel, and Lookalikes (https://stoneidentification.app/blog/red-gemstones) for red-stone photo examples
Commonly confused with
Many stones look alike in a single photo; the goal is to rule out obvious simulants and produce a short shortlist. Glass, plastic, and dyed materials are frequent lookalikes that photos can often flag by surface bubbles, mold lines, or overly uniform color.
For red gems, ruby and spinel are a classic pair of lookalikes; photographs showing internal crystal inclusions or certain color tones help separate them, but confirmatory testing is usually required when value or authenticity is important.
For blue and green stones, watch for double refraction patterns, color zoning, or asterism in photos—those traits point to specific species and exclude many common imitations.
- Glass vs natural gem: look for swirling lines, bubbles, and perfectly smooth fracture surfaces in photos.
- Dyed quartz or howlite: overly uniform, saturated color with surface concentration often signals dye.
- Synthetic spinel or manufactured corundum: extremely even color and lack of natural inclusions are warning signs.
- Soft or porous stones misidentified as gem: certain trade opals or assembled stones show seam lines or glue in close-up photos.
Frequently asked questions
What makes a gemstone precious vs semi precious when I'm identifying a stone from a photo?
The traditional precious vs semi-precious distinction is a market and historical shorthand rather than a strict scientific category. From a photo, you can sometimes infer rarity hints—strong, saturated color in corundum or distinctive play-of-color in opal—but you cannot use a picture alone to prove rarity, market value, or origin. Treat the photo as a visual filter and seek gemological testing for any value or authenticity claims.
Ruby vs red spinel how to tell them apart when the gem is set and lighting skews color?
Photos can suggest a likely ID by showing internal inclusions and the exact hue and saturation, but ruby and spinel often need refractive index or spectroscopy to confirm. In photos, look for characteristic corundum inclusions (e.g., rutile silk) versus cleaner crystal patterns in spinel; if the setting or lighting distorts color, request a clean, unstressed macro shot or a lab test before assuming the stone's identity.
Can I identify a gemstone reliably from a single phone photo?
A single phone photo can provide useful clues—color range, transparency, luster, and obvious surface features—but it rarely delivers a definitive identification. Different angles, close-up views of inclusions, and a photo of the stone out of its setting improve results. Use the photo to form a short list of possibilities and follow up with basic in-hand checks or professional testing when the stone’s value or authenticity matters.
When should I send a photographed stone for lab testing rather than relying on image identification?
Request lab testing when identification affects value, sale, insurance, or legal certainty—examples include high-value gemstones, stones with suspicious treatments, or historic pieces where origin matters. If images suggest a rare species, show unusual inclusions, or indicate possible heat treatment or filling, treat the app result as a pre-test recommendation and obtain a gem lab report for final verification.
Related guides
Narrow it down with Stone Identifier - Gemalyze
After you’ve checked color, transparency, and surface clues, use Stone Identifier - Gemalyze on iOS to convert those observations into a short list and recommended next tests. Take clear front and side photos, include a neutral white reference, and let the app highlight the visual clues it used. Remember: an app gives a visual-first result, not a lab certificate—use it to decide whether to pursue in-person testing.