
Precious Stone Identification: Visual Clues, Steps, and Limits
Compare precious stones by color, transparency, cut and visible features. Learn why photo matches need further checks for identity, treatments and authenticity.
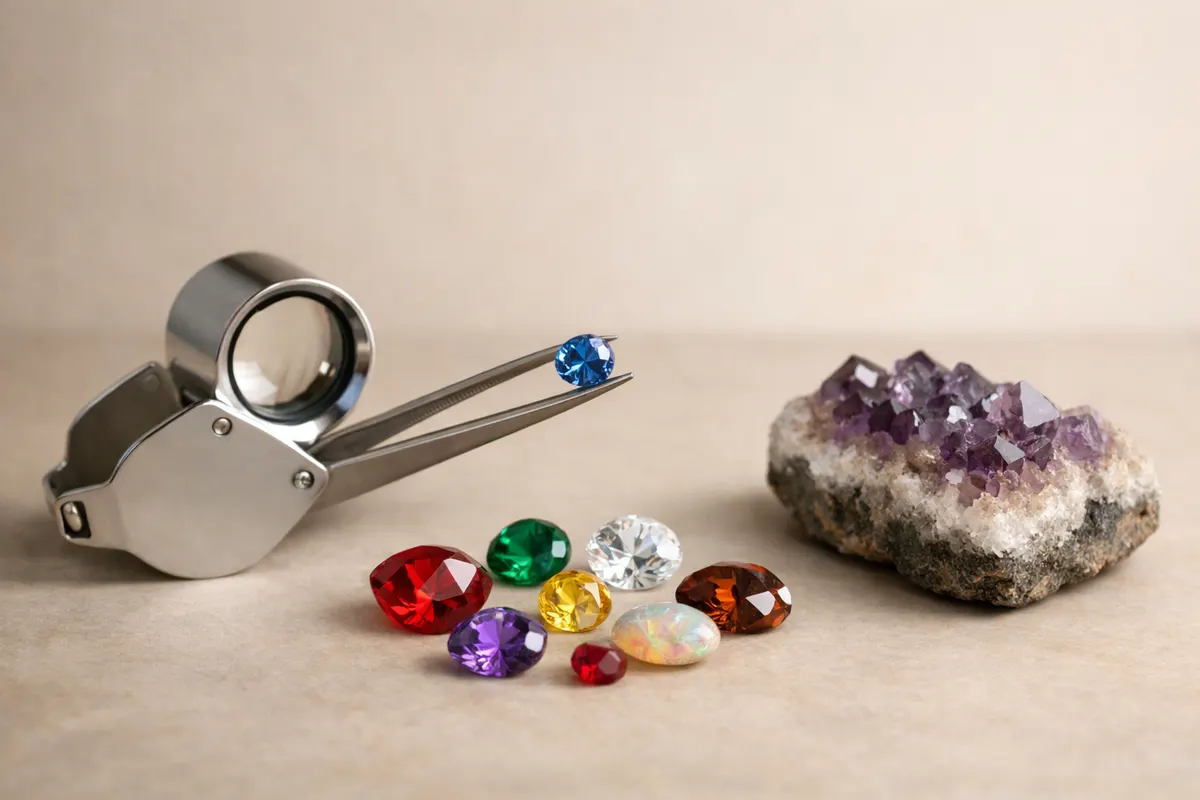
Quick answer: what a photo can prove about a precious stone
A clear, well-lit photograph can often narrow a precious stone to a small group of possibilities — for example, separating a colorless faceted stone that looks like diamond, cubic zirconia, or white sapphire. Photography highlights surface features (cuts, chips, polish), color and saturation, and some inclusion patterns that point to certain minerals.
But photos alone rarely prove a stone’s species, treatment history, or market value. Key properties used to confirm identity — refractive index, birefringence, specific gravity, and spectral features — require instruments or lab reports. Similarly, many synthetics and simulants mimic the look of precious stones under casual photography.
Use photos as a strong first filter: they help decide whether to treat a stone as likely valuable, suspicious, or clearly non-precious. After photographic checks, the safest path is non-destructive in-person tests or a formal lab report when value, authenticity, or insurance matters.
- Photos can identify color, cut, polish, surface damage, and some inclusion types.
- Photos cannot reliably confirm synthetic vs natural, specific treatments, or exact weight/value.
- Treat a photo ID as a first pass — follow with safe documentation and professional verification if stakes are high.
What precious stone identification involves
Precious stone identification is the process of deciding which gem or mineral you’re looking at and how certain that conclusion is. For common “precious” gems — diamond, ruby, sapphire, emerald — the goal is to separate the true gem from lookalikes (simulants) and synthetics, and to detect obvious treatments like heavy fracture-filling or glass impregnation.
From a hobbyist perspective, the first stage is visual and contextual: color, transparency, cut style, and where the stone came from. A faceted, colorless stone in a modern low-cost setting is more likely to be a simulant than a natural diamond, whereas an emerald with characteristic three-phase inclusions in an older setting may be natural but still needs testing.
From a professional viewpoint, identification also includes instrumental tests — refractive index measurement, specific gravity, polarization, and spectroscopy — and for high-value items a laboratory certificate. Knowing which level of certainty you need (curiosity, collection record, resale or insurance) determines how far to go beyond photos.
- Visual/contextual checks narrow possibilities; lab tests confirm identity and treatment.
- Different goals require different certainty: hobbyist ID vs certified appraisal have very different thresholds.
- Handling, tests, and value judgments should avoid destructive or risky actions.
Key clues
Start with the basics: color, transparency, and luster. Color saturation and hue range can quickly separate groups (e.g., saturated cornflower blue suggests sapphire; bright dispersive flashes suggest diamond or a good simulant). Luster — adamantine (diamond-like), vitreous (glass-like), or resinous — helps rule in or out specific gem types.
Inclusions and internal features are extremely informative. Needle-like rutile inclusions commonly appear in rutilated quartz; three-phase inclusions are classic in many natural emeralds; growth zoning or color banding is common in synthetic corundum and some glass. Use magnified images where possible to show these patterns.
Cutting and facet style give context: modern brilliant-cut diamonds have very different proportions than antique cuts or mass-market simulants. The setting and mounting also say something: a raw factory setting or plated base metal often signals a lower-value simulant, while heavy precious-metal mountings increase the chance the stone has value — though they are not proof of authenticity.
- Color hue and saturation: strong clues to gem family and heating treatments.
- Inclusions: type, shape, and pattern often indicate natural vs synthetic or simulant.
- Luster and dispersion/fire: can distinguish diamond-like stones from glass or quartz.
- Cut style and setting: help estimate likely market intent but are not definitive.
- Context (where bought, price paid, provenance): critical for deciding next steps.
Step-by-step workflow for a safe first-pass identification
1) Document what you have before doing anything else. Photograph the stone unmounted and in-situ (if set in jewelry) from multiple angles: face-up, pavilion, profile, and a close-up of any inclusions. Include a consistent scale (a ruler or coin) and a neutral gray or white background. Note provenance: where and when you acquired it, and how much you paid.
2) Make controlled photos: bright, indirect daylight or standardized LED light; avoid flash reflections that hide surface detail. Use macro or a loupe attachment for clear inclusion shots. If the stone shows color-shift under different lighting, photograph under both warm and cool light — pleochroism can be diagnostic for gems like tanzanite or some tourmalines.
3) Screen for obvious lookalikes. Compare photos to reference images for common simulants: cubic zirconia (very high dispersion, often perfect clarity), glass (bubbles, flow lines), spinel (very similar to ruby/sapphire in color but different inclusions), and synthetic corundum (often too perfect and with curved growth lines). Use the app’s visual guide or a trusted reference like a gem ID guide to narrow candidates.
4) Apply only safe, non-destructive checks at home. A loupe or inexpensive polarized filter can reveal strain patterns and birefringence in some stones; a simple UV lamp shows fluorescence differences (not definitive). Avoid destructive tests like scratching, heating, or chemicals. If the stone might be valuable, stop here and seek professional evaluation.
5) Decide the next escalation: an experienced local gem appraiser for quick in-person checks, or a gem-testing lab for a formal report if you need proof for sale, insurance, or legal purposes. Keep your photos and notes — they will speed any professional assessment and help place samples in context.
- Photograph multiple standardized views with scale and neutral background.
- Use magnification to document inclusions; note color changes under different light.
- Compare to known lookalike photos; filter impossible options quickly.
- Use only non-destructive home checks (loupe, UV light, polarization).
- Escalate to a trained appraiser or lab if authentication, treatment detection, or valuation is required.
Examples
Example 1 — Clear faceted stone in a modern low-cost ring: A bright, colorless stone with very strong rainbow flashes and perfect clarity is often a simulant like cubic zirconia or moissanite rather than diamond. A loupe image showing rounded gas bubbles points to glass; curved growth lines indicate flame-fused synthetics. For a homeowner, photograph inclusions and the setting, then consult a local jeweler before spending on tests.
Example 2 — Green gem in a vintage ring: Green stones include emerald, peridot, tourmaline, glass, and treated quartz. Emeralds commonly show three-phase inclusions and a particular ‘jardin’ (garden) texture; glass and filled stones often show trapped air bubbles or a surface layer at the girdle. If photos show characteristic internal features consistent with emerald, the next step is a refractive index test and screening for dye or filling by a pro.
Example 3 — Deep blue faceted stone: Distinguishing sapphire from spinel or synthetic corundum can be tricky in photos. Look for pleochroism (slight color change at different angles), zoning, and natural inclusions. Spinel typically lacks strong pleochroism and shows different inclusion types. A gem lab or qualified appraiser can run refractive index and spectral tests that conclusively separate these possibilities.
Example 4 — Translucent green rough or polished cabochon: Jade, serpentine, and chrysoprase can appear similar in photos. Jade often shows fibrous or granular structure and a particular waxy luster; serpentine is softer and may have calcite or other matrix showing in the same specimen. Because treatments and imitations (dyed stone, polymer-impregnated material) are common, lab-grade tests for specific gravity and spectroscopy are recommended for any high-value claims.
- Look for diagnostic inclusion types: needles, three-phase inclusions, gas bubbles.
- Color zoning and pleochroism are often visible with multiple-angle photos.
- Setting and provenance provide supporting context but never replace lab tests.
- When in doubt for sale or insurance, obtain a lab report rather than relying on photos.
Limitations
Photos are inherently limited for three important outcomes: 1) determining if a stone is natural or laboratory-grown, 2) detecting many treatments (e.g., heat treatment, fracture filling, diffusion, resin impregnation), and 3) assigning monetary value. Many treatments alter optical properties in subtle ways that require spectrometers, immersion cells, or microscopy under controlled lighting to detect.
High-confidence outcomes from photos are limited to: ruling out impossible matches (a cloudy mass cannot be a fine-quality faceted diamond), identifying likely groups (e.g., green translucent cabochon likely jade/serpentine family), and spotting obvious simulants (bubbles, curved striae). Partial-confidence outcomes include probable IDs that still need confirmation, such as “likely sapphire vs spinel.”
When to get a lab test: if you plan to sell, insure, or insure for high replacement cost, or if the stone’s origin (natural vs lab-grown) materially affects your decision, arrange testing at a recognized gemological lab. Labs provide certificates that list species, treatments, and any evidence for synthetic origin. For items below a collector threshold, a trusted local appraiser or club member may give a practical, lower-cost second opinion.
Safety and legal notes: do not perform destructive tests at home. Some minerals contain toxic elements in trace amounts or as surface residues; avoid inhaling dust or using acids. If a stone could be hazardous (e.g., bright red cinnabar-like minerals), consult an expert rather than attempting to clean or sample it yourself.
- Photos cannot reliably detect synthetic origin, many treatments, or precise value.
- Lab tests (RI, SG, spectroscopy, microscopy) are required for certification.
- Use photos to triage and prioritize stones for professional evaluation.
- Avoid destructive home tests; prioritize safety and documentation.
Related guides
Ready to move from photos to action?
After you’ve documented color, inclusions, and context, use Stone Identifier - Gemalyze as a practical first pass to compare your photos against a broad reference set and organize your findings. It’s one quick way to prioritize which pieces need a closer in-person check or a lab report. For step-by-step visual examples, see our Gemstone Identification guide and related posts like Black Stone Identification: Luster, Streak, Texture, and Weight. When certainty matters for sale or insurance, follow the app’s suggestions with a qualified gemologist or a certified testing lab. https://stoneidentification.app/ — https://stoneidentification.app/identify/gemstone-identification
Take the next step →Frequently asked questions
How accurate is precious stone identification from a photo?
A photo can often narrow possibilities to a small group and reveal clear simulants, but it rarely provides definitive identification. Accuracy depends on photo quality, visible diagnostic features, and the stone type. For confident, market-sensitive conclusions (authenticity, treatments, or value), instrumental tests or a certified lab report are needed.
What are the best ways to photograph a stone for identification?
Use bright, diffuse daylight or neutral LED lighting and a neutral gray background. Photograph face-up, pavilion, profile, and close-ups of any inclusions with a scale (ruler or coin). Capture the stone under both warm and cool light if its color shifts. Use a macro lens or loupe attachment to show internal features; clear, well-lit inclusion photos are often more useful than a single flashy image.
Can I tell if an emerald or sapphire is real just from pictures?
You can often spot signs that suggest an emerald or sapphire is natural (typical inclusion types, color zoning) or indicate an imitation (air bubbles, flow lines). However, many treatments and synthetics mimic natural appearance in photos. For any high-stakes decision, confirm with refractive index tests, magnification by an expert, or a lab certificate.
When should I take a stone to a gemologist or send it to a lab?
Take the stone to a gemologist or send it to a lab when you need a reliable determination of species, proof of natural vs synthetic origin, treatment disclosure, or a professional valuation for sale or insurance. If photos and home checks only produce uncertainty or if the stone appears potentially valuable, a professional assessment is the correct next step.