
Rock Identification: Practical Photo Checks and Next Steps
Learn which visual clues photos can show for rock identification, safe at‑home checks to try, and the next steps before you rely on a single image.
Quick answer: what photos can do for rock identification
Photos are a powerful first step in rock identification but rarely deliver a full, definitive answer alone. A clear image can show color, overall texture, grain size, layering, and obvious crystals or fossils—clues that narrow possibilities from dozens to a manageable shortlist.
Distinctive crystal shapes, fossils, or textures can make some photo suggestions more useful than others. Even an apparently familiar specimen can have lookalikes, coatings, or a misleading origin. Treat the image as evidence for a candidate identification rather than a guarantee.
Use photos to triage what next checks to perform: take different lighting angles, include a scale, photograph broken surfaces if safe, and capture close-ups for texture and grain. These images help you decide if non-damaging tests or a lab analysis are required.
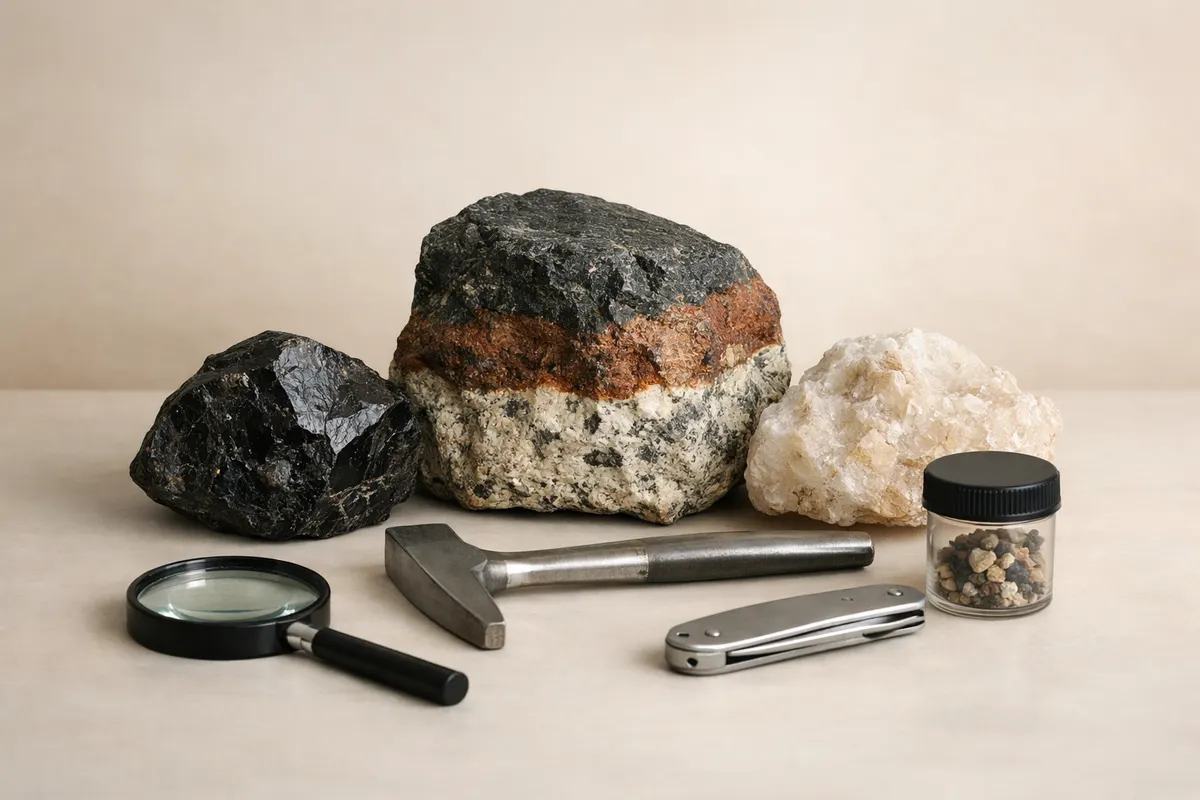
AI-generated illustration. Do not use the pictured tools to split, scratch, or grind an unknown specimen.
- Photos can reliably show color, luster, layering, crystal habit, and grain size.
- Photos alone usually can’t confirm mineral composition or exact rock type.
- High-quality images speed up later checks and improve any expert review.
What rock identification means in practical terms
Rock identification is the process of assigning a likely rock or dominant mineral type based on observable properties and context. In practical field work this means combining visual clues (what you can see in a photo or with the naked eye) with contextual info such as where the specimen was found, nearby bedrock, and whether it’s part of an outcrop or a transported cobble.
A usable identification is typically hierarchical: start by deciding whether the specimen is igneous, sedimentary, or metamorphic, then narrow to family (e.g., basalt vs. rhyolite; shale vs. siltstone) and finally to dominant minerals where possible. Many casual finds remain at the family level unless laboratory tests are performed.
Context matters. A dark, glassy pebble on a volcanic coastline is interpreted differently from the same pebble found in a glacial till inland. Always record location, apparent source (bedrock exposure, stream, beach), and nearby geology when attempting identification.
- Identification levels: general family → rock type → dominant mineral(s).
- Context (location, geology) often tips the balance between lookalikes.
- Field IDs are probabilistic; lab tests add certainty when needed.
Key clues
Begin with non-destructive observations you can make from photos or by handling the specimen carefully. Look for color patterns, crystal faces, grain size, visible layering, fossils, and any metallic luster. Texture—whether glassy, fine-grained, or coarse—often separates rock families quickly.
Use magnification (a hand lens or phone macro) and repeatable photos at multiple scales and lighting angles. A polished surface can hide true texture, so if the specimen is weathered or broken you may see different characteristics at the break that are useful—but avoid creating fresh breaks.
Check magnetic response without abrading the surface: hold a small magnet near the specimen to detect magnetite or other magnetic minerals. Do not scrape or grind to test magnetism; magnet response is non‑destructive when performed carefully.
- Color and streak patterns (note: streak requires powder and is destructive; avoid unless sample allows).
- Grain size and texture (glassy, fine, medium, coarse).
- Crystal habit, visible mineral faces, and obvious fossils.
- Layering, bedding, vesicles (bubble holes), or vesicular textures.
- Magnet test without abrasion and scale/weight impressions by hand.
Step-by-step workflow for photo-based rock identification
1) Photograph deliberately. Take a set: an overall shot showing context and size (include a ruler or coin for scale), medium-distance images for shape and texture, and close-ups for grain and mineral detail. Use diffuse daylight where possible and avoid overexposed highlights that hide texture.
2) Make non-damaging checks first. Examine the specimen with a loupe or phone macro, test magnet response cautiously, and note heft in hand compared to similarly sized rocks. Keep unknown specimens dry and avoid chemical tests at this stage.
3) Record context and metadata. Log the GPS location, substrate (beach, river, quarry), and any nearby rock exposures. Photos combined with context often separate likely options—an igneous coastline source differs from a glacial erratic inland.
4) Keep unknown specimens intact. Scratch and streak tests remove material, and streak tests create powder. Do not perform them on an unidentified, fibrous, crumbly, valuable, or potentially hazardous specimen. Ask a qualified mineral specialist whether physical testing is appropriate and how it should be done. Never cut, split, or grind an unknown specimen at home.
5) Escalate when needed. If visual checks and minimal testing still leave uncertainty, consider expert review or laboratory methods (thin section petrography, X-ray diffraction). For suspect fibrous materials, hazardous minerals, or anything that might release dust or fibers, stop further handling and consult a professional—do not attempt further physical testing.
- Photograph with scale, varied angles, and close-ups.
- Run only non‑destructive checks first: magnification, magnetism, heft, and context.
- Scratch and streak tests are destructive; reserve them for appropriate specimens under qualified guidance.
- Do not split or cut unknown rocks; seek expert help for hazardous or fibrous material.
- Use lab analysis for conclusive mineral identification when necessary.
Examples: common photo-based identifications and lookalikes
Example 1 — Quartz crystal cluster: A clear photograph showing six-sided prisms with a glassy luster and conchoidal chips at broken edges strongly suggests quartz. Because many specimens share glassy fracture, corroborate with crystal habit (hexagonal prisms), hardness context, and nearby geology before concluding.
Example 2 — Vesicular basalt and scoria: Photos that show a dark, fine-grained matrix filled with rounded vesicles (small holes) usually indicate a vesicular volcanic material, possibly basaltic scoria. Compare density by heft in hand: scoria tends to be lighter and more vesicular. Context—near known lava flows—strengthens the volcanic interpretation.
Example 3 — Chert or jasper vs. glassy pebbles: Small, waxy-to-glassy pebbles with conchoidal fracture can be chert, jasper, obsidian, or man-made glass. Because conchoidal fracture is not unique to obsidian, use context (is the find in a volcanic streambed?), visible microtexture, and whether the surface shows flow banding or spherulites to narrow options.
Example 4 — Fossil-bearing sedimentary rock: A photo revealing clear fossil outlines or shell fragments likely indicates sedimentary origin (limestone, shale). Fossils are diagnostic in many cases; high-res close-ups can often identify the fossil group even if the precise rock name remains tentative.
Scoria describes highly vesicular volcanic material and often has a basaltic composition, so it is not always a separate alternative to basalt. Industrial slag can also contain bubbles and glassy surfaces. A collection site and regional geological map can be more informative than a close visual match to a single online photograph.
- Quartz: look for prism faces and glassy luster; corroborate with crystal habit.
- Basalt/scoria: vesicles, fine-grained groundmass, contextual volcanic source.
- Chert/obsidian/glass: conchoidal fracture occurs in all; context and microtexture help.
- Fossil-bearing rock: fossils often give immediate sedimentary ID clues.
Limitations
Photos have limits. They cannot measure hardness reliably, detect trace minerals, or identify microscopic inclusions. A single image can mislead when lighting masks color, when coatings or weathering hide true texture, or when small accessory minerals control key properties.
Some features are ambiguous by nature. Conchoidal fracture is shared by obsidian, chert, quartz, and glass—so it cannot be used alone to claim obsidian. Streak is a powdered property and requires abrasion; it is a destructive test and should be reserved for expendable samples or fragments that are already loose. Always treat scratch and streak tests as potentially damaging.
Safety and hazardous materials: never assume a specimen is safe. Fibrous minerals (asbestiform minerals) and certain heavy-metal-bearing ores can release dangerous dust when handled, cut, or ground. If a rock looks fibrous or readily sheds dust, stop and seek expert advice rather than performing abrasive tests. For guidance on asbestos hazards, see the CDC's resource on asbestos precautions: https://www.cdc.gov/niosh/topics/asbestos/.
Verification steps: when ID matters (for sale, collection, or safety), follow up with specialists or labs. Professional analysis—thin-section microscopy, X-ray diffraction, or geochemical assays—provides confirmation beyond what photos and hand tests can achieve. For general mineral identification methods and the limits of visual tests, consult established resources such as Geology.com’s rock and mineral guides and Mindat’s mineral pages.
- Photos can mislead: coatings, weathering, and lighting affect appearance.
- Conchoidal fracture is not unique to obsidian—use multiple lines of evidence.
- Scratch and streak are destructive; avoid unless the sample allows abrasion.
- Stop if the specimen could be fibrous or hazardous; get professional help.
Related guides
Get a tentative rock identification
Try the rock identifier (https://stoneidentification.app/tools/rock-identifier) as an initial photo-based aid. Compare its suggestion with the specimen’s texture and geological context; consult a qualified specialist when composition or safe handling remains uncertain.
Take the next step →Frequently asked questions
Can I identify any rock from a single photo?
A single photo can narrow possibilities but rarely provides a definitive identification. High-quality, multi-angle photos plus contextual information increase confidence. For conclusive results you may need physical tests or lab analysis.
Is the streak test safe for everyday specimens?
A streak test abrades a specimen and produces powder. Do not try it on an unidentified or potentially hazardous rock, or a valuable specimen. Ask a qualified mineral specialist whether any physical test is appropriate; start with photographs and non-damaging observations.
What non‑destructive checks should I run before any abrasion?
Start with close-up photos, a hand lens or macro images, a cautious magnet test, heft comparison, and notes on location/context. These checks preserve the specimen and usually provide enough info to decide if further testing is warranted.
I found a fibrous-looking rock—what should I do?
Stop handling it. Fibrous minerals can be hazardous if disturbed. Do not cut, grind, or scrape. Seek local expert help (museum, university geology department, or environmental health) for safe sampling and identification.