
Black Stone Identification: Luster, Streak, Texture, and Weight
Learn which visual clues reliably narrow black stone identification, which cues are misleading, and how to combine tests before you trust a match.
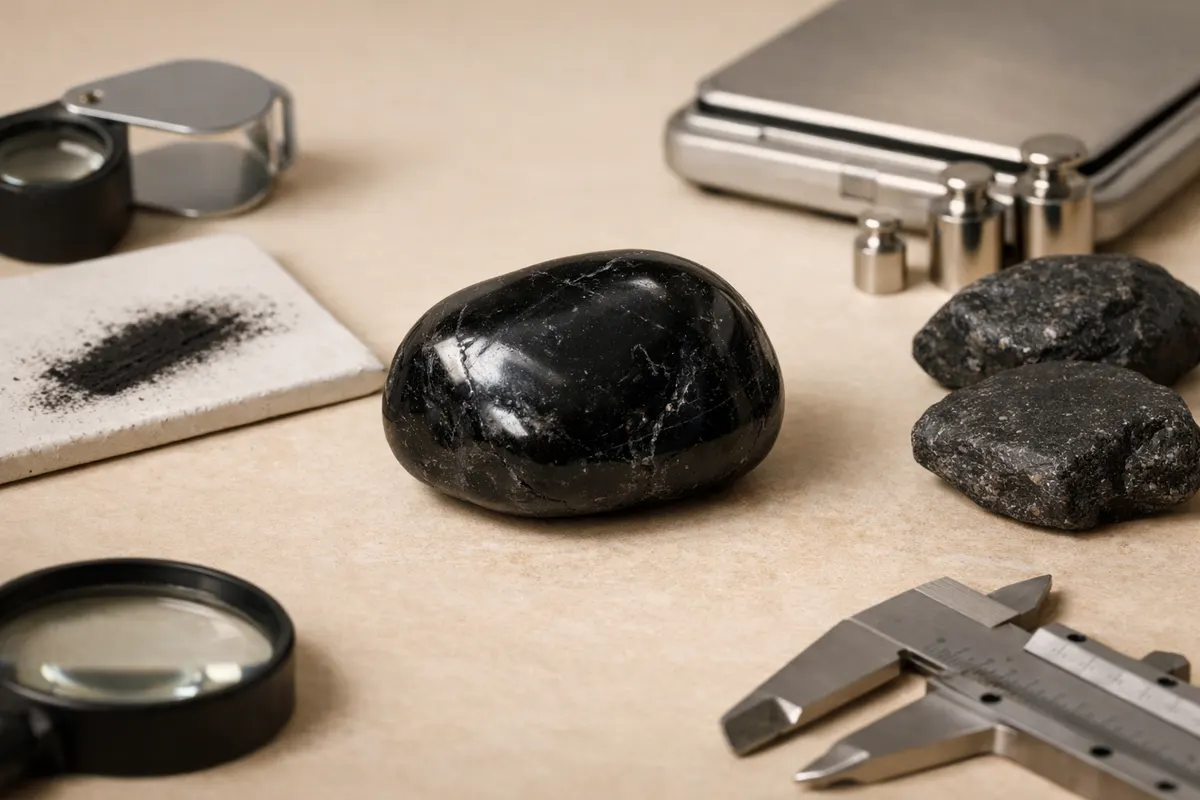
Quick guide: what a photo can tell about black stones
Black stone identification starts with a realistic goal: a good photo and a few simple hands-on checks can narrow possibilities but rarely give a single, definitive name. Visual properties such as luster, streak, surface texture, and heft are the strongest, repeatable clues you can capture with a smartphone image plus a short field test.
Luster (metallic, submetallic, or non-metallic) and surface reflections are often the first visible hints. If a specimen shows a bright metallic sheen or visible sparkles at modest zoom, it points toward iron-bearing minerals like magnetite or hematite rather than volcanic glass or organic stones. A streak test — the color of the powdered mineral left on unglazed porcelain — is another strong discriminator you can note and photograph safely.
Weight and density are simple but powerful. A dense, small piece that feels surprisingly heavy for its size suggests a high specific gravity mineral (for example, hematite or magnetite) while lightweight, porous black stones (like scoria or some coal pieces) feel much lighter. Combine these clues rather than relying on any single trait: luster plus streak plus heft gives far better narrowing power.
Quick checklist: prioritize luster, streak color, surface texture, and heft before using color or single-angle photos as proof. Treat any one-photo suggestion as a research hypothesis to confirm with additional images, light directions, and non-destructive checks.
- Top four clues to note from a photo: luster, streak color, texture, and relative weight.
- Use several photos (close-up, side, and top) and a short note about where the stone was found to improve accuracy.
Strongest clues to spot in black stones
When working through black stone identification, favor clues that survive changes in lighting and camera angle. Luster and streak are durable: metallic luster often remains visible even in dim light, while streak color is independent of surface polish and typically gives a consistent diagnostic color on a streak plate. Both are robust clues you can describe and photograph.
Texture and surface detail tell different stories. Is the surface glassy and conchoidal (smooth, curved fracture surfaces) like obsidian? Is it fibrous or columnar like some tourmalines? Is it pitted and vesicular like basalt or slag? Close-up photos that capture grain size, fracture pattern, and whether the surface retains polish or dulls to powder will separate glassy volcanic materials, crystalline minerals, and organic/hydrocarbon stones.
Relative weight — an informal heft test — is often underrated. Hold the stone and compare it to a similarly sized piece of common rock (for example, a pebble of quartz). If it feels surprisingly heavy, that indicates higher specific gravity minerals such as hematite or magnetite. If it feels unusually light or porous, basaltic scoria, pumice fragments, coal, or jet become more likely. Note that coatings or heavy surface tarnish can mislead weight perception, so combine weight with visual clues.
Color is often the weakest of the 'big four' for black stones because many minerals share a black appearance. Instead of using color alone, describe whether the black is deep and ink-like, slightly brownish in reflected light, or shows internal flashes (chatoyancy or iridescence). These subtleties guide you toward examples like black tourmaline (schorl), black spinel, or polished onyx.
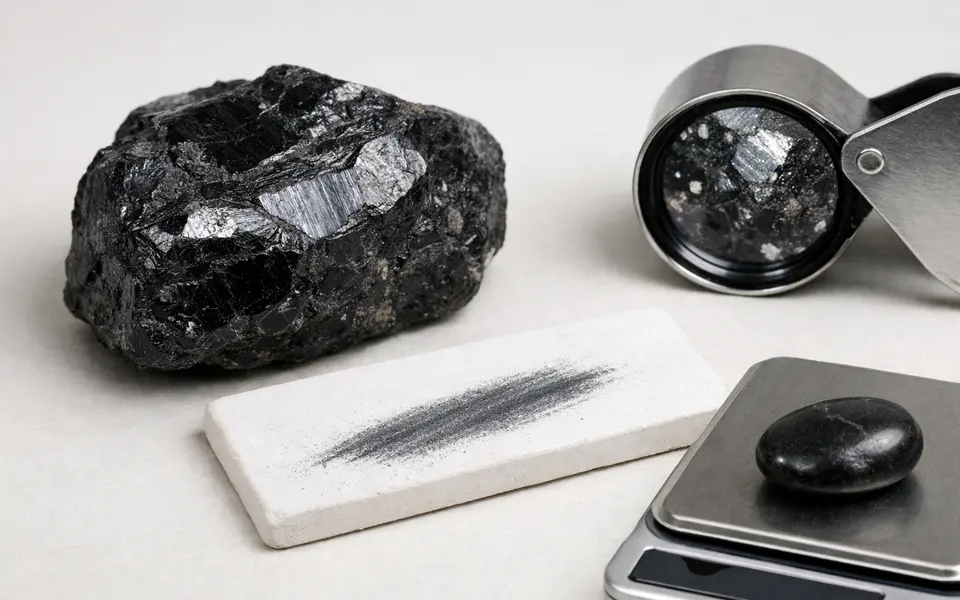
- Luster: metallic, submetallic, vitreous (glassy), dull — pick the best match.
- Streak: test on unglazed porcelain; black stones can leave black, red-brown, or gray streaks.
- Texture: conchoidal fracture, grainy matrix, botryoidal, fibrous — document with macro shots.
- Heft: quick in-hand weight comparison gives specific gravity clues.
- Context: where you found the stone (beach, river, mine tailings) narrows likely materials.
Weak signals and lookalike traps for black stones
Color alone is a weak signal for black stone identification because many different minerals and materials appear black. For example, polished onyx, black glass, and black jasper can look similar in a single photo. Reflections and camera exposure tend to turn near-black browns, greens, and blues into an undifferentiated black, hiding subtle hues that would help separate candidates.
Glare and specular highlights create false impressions of metallic luster. A glossy non-metallic surface can flash bright white highlights that mimic metal when photographed at the wrong angle. Conversely, a dull surface photographed in flat light can hide true metallic reflections. Take images from several angles and under diffuse light to minimize these traps.
Size and polish can hide important clues. Tiny polished beads or cabochons remove surface texture and fracture traces, making rough-match errors common. Likewise, coatings, dirt, or varnish applied to a specimen (intentional or from the environment) can alter perceived color and luster. Always clean a weathered surface gently before judging it, and note whether a specimen is worked or natural.
Beware of single-test overreach. A single hardness scratch or one photo of the polished face does not prove identity; hardness tests can damage value-bearing pieces and are unnecessary when harmless observations (streak, magnetism, context) narrow possibilities. Use non-destructive checks first, and reserve abrasives or acids for specimens you can sacrifice or for controlled lab testing.
- Don't rely on black color alone — many minerals and glasses are black.
- Avoid judging luster from a single highlight; photograph from multiple angles.
- Small polished pieces remove diagnostic texture — treat polished cabochons as ambiguous.
- Coatings and dirt can mask streak or luster; clean gently before concluding.
How to compare likely black-stone matches
A reliable comparison workflow uses elimination rather than immediate naming. Start with three or four contrasting candidate groups: metallic oxides (hematite, magnetite), volcanic glass (obsidian), carbon-rich materials (coal, jet), and crystalline gems (black spinel, tourmaline, garnet). For each candidate, list the expected luster, streak, weight, and fracture behavior and check them off against your specimen.
Example scenario: a polished, small black cabochon. Polished cabochons commonly host onyx, black spinel, glass imitations, and dyed chalcedony. Checklist approach: (1) Streak — onyx and chalcedony will leave a white or colorless streak if scratched, while glass leaves no colored streak and mineral oxides leave colored streaks. (2) Luster — gem-quality spinel shows a vitreous luster, while glass and resin can look overly glossy and plasticky. (3) Heft — spinel will feel heavier than glass of the same size.
In the field with rough fragments, fracture and texture dominate. Obsidian shows conchoidal fracture and very sharp, glassy surfaces; basaltic fragments have vesicles and a more granular matrix. Hematite often has a reddish-brown streak and a metallic to submetallic sheen, while magnetite is strongly magnetic and leaves a black streak. Use quick non-destructive checks (streak, magnet, heft, photographs from multiple angles) in this order to eliminate broad groups.
Record your reasoning with photos and short notes: capture macro shots of the surface, one shot showing scale (a coin or rule), and a picture of the streak test on porcelain. Good notes make it far easier to revisit the identification later or to share with a specialist for confirmation. Treat any final label as provisional until confirmed by lab testing or reliable local expertise.
- Group candidates first (metal oxides, volcanic glass, organic, crystalline gems).
- Apply nondestructive checks in this order: luster, streak, magnetism, heft, fracture/texture.
- Document with 3+ photos: scale, close-up, and side views, plus a streak test photo when possible.
- Label the specimen with your conclusion confidence (likely, possible, unlikely) and the clues that led there.
Using Stone Identifier after your visual checks
After you collect photos and field notes, use a visual identifier as a research tool to prioritize likely matches — not as a final appraisal. The Stone Identifier - Gemalyze app can help surface candidate names based on uploaded or in-app photos, but treat those suggestions as hypotheses to compare against your checklist of luster, streak, texture, and weight.
Start the app workflow by entering contextual notes: where the specimen was found, whether it was loose or from bedrock, and any noticeable magnetic behavior or heft. Then submit clear photos: one close-up of the surface texture, one showing scale, and one at low-angle light to reveal luster. Avoid relying only on a single polished face; include at least one image of an unpolished surface or broken edge when available.
Use app suggestions to refine your manual checklist. If the app proposes hematite or magnetite, verify with a streak plate and a small magnet. If suggestions include obsidian or onyx, compare fracture patterns and whether the piece has banding or flow structure. As you test these, keep the app results as part of your research notes rather than a final label.
For additional reading on field clues and to avoid common photo pitfalls, consult practical guides like Rock and Mineral Field Clues: Luster, Streak, Hardness, and Context (https://stoneidentification.app/blog/rock-and-mineral-field-clues) and the photo-focused guidance in Real vs Fake Gemstones: Photo Clues, Limits, and Safer Next Steps (https://stoneidentification.app/blog/real-vs-fake-gemstones). These resources expand on the non-destructive checks described above and help you interpret app suggestions with healthy skepticism.
- Collect context and multiple photos before using the app.
- Treat app suggestions as research leads — confirm with streak, magnet, and heft.
- Keep records: photos plus a short notes field about the checks you ran.
- Use available guides to cross-check app results and avoid common photo traps.
Related guides
Try Stone Identifier - Gemalyze as a next-step research tool
After you check luster, streak, texture, and heft, use Stone Identifier - Gemalyze to surface likely matches from your photos and notes. Treat app suggestions as research leads: compare them against your manual clues, run non-destructive checks where safe, and label any results as provisional until confirmed. The app is a practical next step for narrowing candidates and organizing your photos and field notes on iOS; it helps turn visible clues into a focused investigation, not a final certificate.
Take the next step →Frequently asked questions
Can I identify a black stone from one photo?
One photo rarely yields a reliable identification. A single image can suggest possibilities, but luster, streak, texture, and weight together offer far stronger evidence. Take multiple photos (close-up, side, and scale) and add one or two simple checks — a streak on unglazed porcelain or a magnet test — to narrow candidates before accepting any single-photo result.
What does a reddish-brown streak on a black stone indicate?
A reddish-brown streak often points to iron oxides such as hematite. While the specimen surface may appear black or metallic, the powdered streak color reflects mineral composition more consistently than surface color. If you see this streak, compare luster and heft for confirmation: hematite typically has a metallic to submetallic sheen and feels denser than common silicate rocks.
Is magnetism a safe field test for black stones?
Yes — using a small handheld magnet is a safe, non-destructive test that quickly identifies magnetic minerals like magnetite or strongly magnetized iron-rich fragments. Keep in mind that some minerals contain magnetic inclusions while others are only weakly attracted, so a positive magnetic response is a strong clue but a weak or absent response does not rule out iron-bearing minerals entirely.
How should I document and label uncertain identifications?
Record photos from several angles, include a scale reference, and add short notes about the location and any tests you ran (streak color, magnet response, relative heft). Assign a confidence tag such as 'likely,' 'possible,' or 'uncertain' and list the key clues supporting that tag. These notes make later verification easier and help specialists or apps provide better follow-up guidance.